
Getting ready to weave takes a long time!


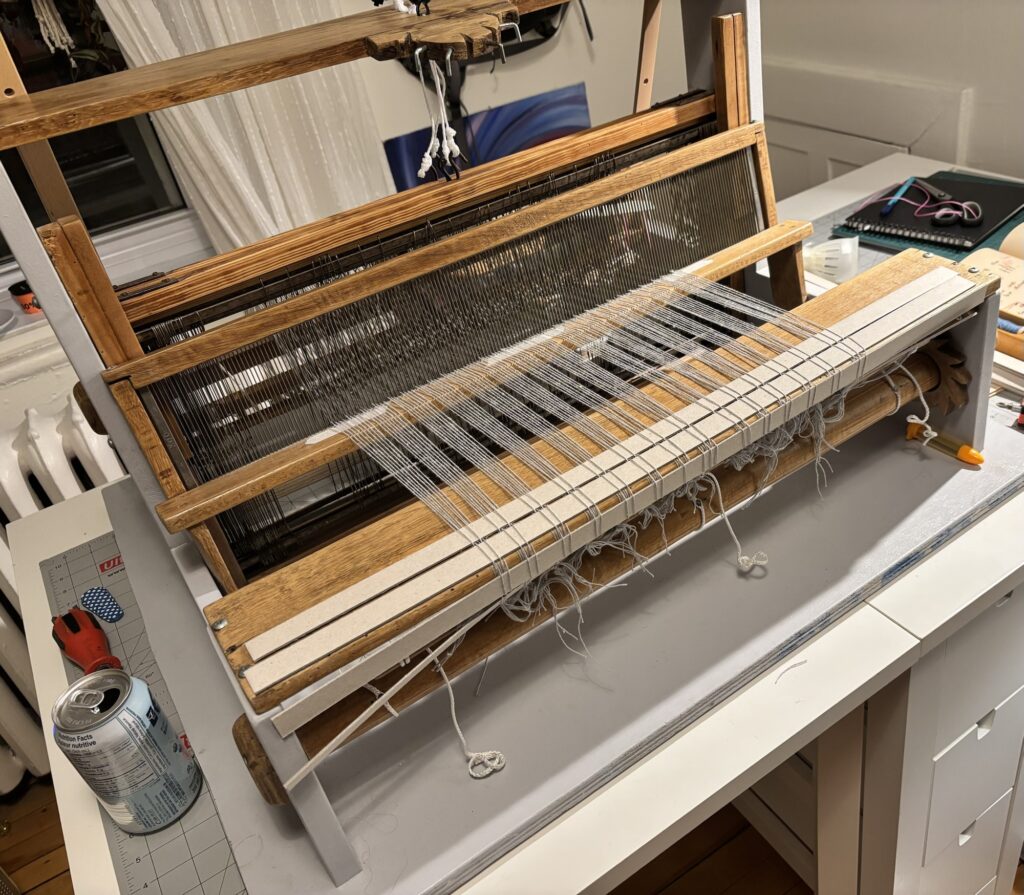
I bring my warp over to the loom, as instructed.
It looks to me like this loom would be easier to thread front to back, because it’s easier to identify where the center is, and the reed doesn’t move around everywhere like the heddles do. But what do I know? Nothing. Literally nothing. I’m just going on vibes.
You Can Weave has no advice for threading it front to back, (which is backwards, maybe?) and my loom has different bits than most modern looms that show up in how-tos, so I have to wing it a bit, with the help from another YouTube tutorial.

The process involves first passing some 200-odd threads through each tooth of the reed, starting from the centre, and moving outward.
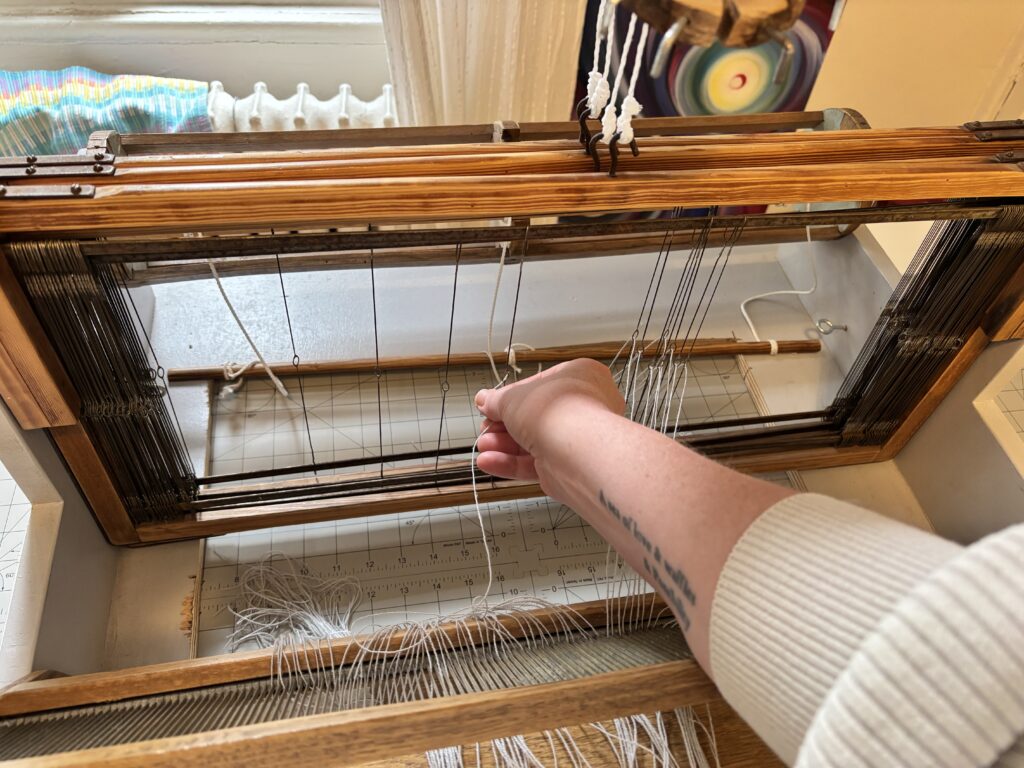
Then, I need to pass every thread through the heddles. Each heddle is a a strand of twisted wire with a hole halfway up. The heddles are mounted on one of the four cards, on a pair of metal runners, that lets them slide around, left and right. The cards are responsible for moving the warp up and down. and the heddles hold them in place.
For my basic plain weave, I need to thread it in a repeating 1-2-3-4 pattern (1 thread per card, over and over again), otherwise I’ll end up with a different weave pattern than I was planning.

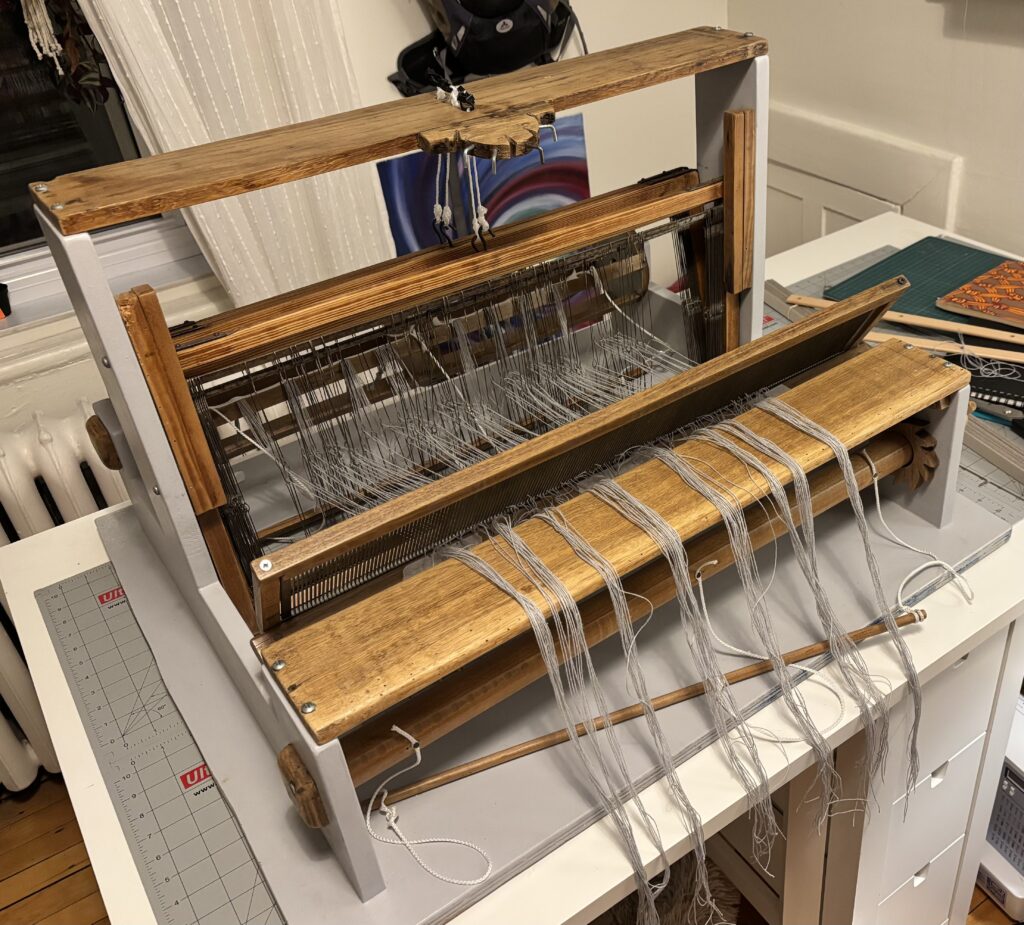
When that’s done, I tie everything onto the back rod and gently wind the back, so I don’t have too much excess yarn in front, but also don’t risk pulling any of the yarn through the heddles. (Spoiler: I do, in fact, pull some of the yarn through some of the heddles.)
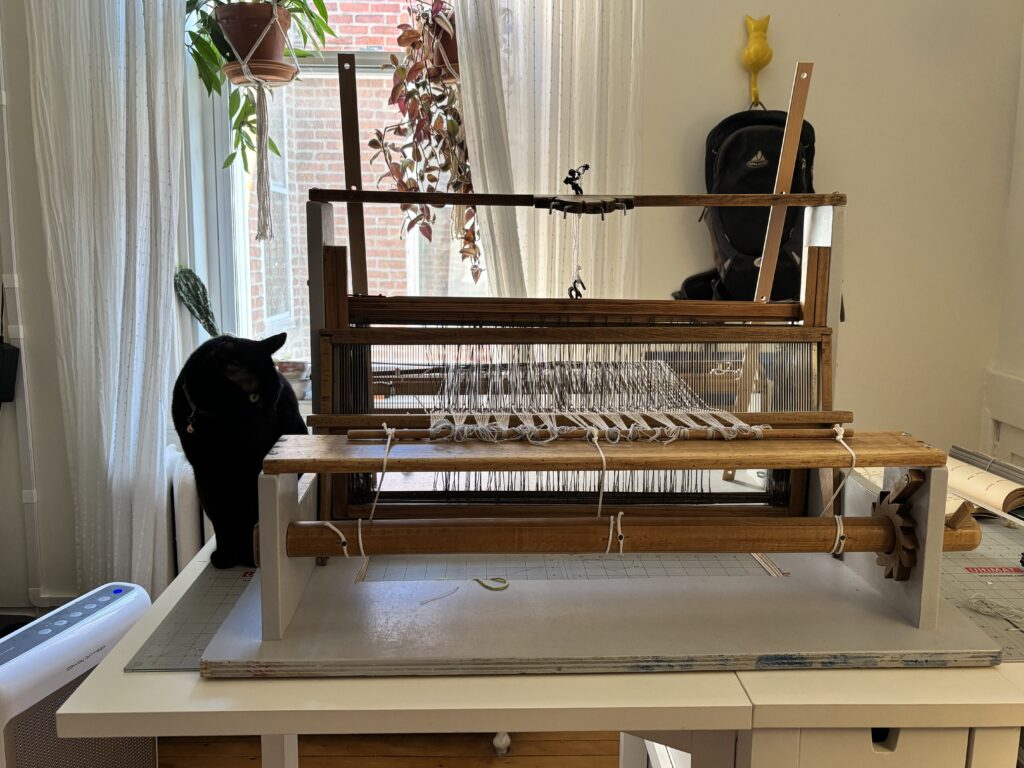
Then I tie my warp threads to the rod in front, after quite a lot of puzzling over which way the crank is meant to turn. And Penelope stops by to make sure I’m doing it right / plan how to turn the dressed loom into a cat toy.

With everything nicely tied off, I examine the reed and, after a lot of squinting, notice I’ve missed a few slots. I curse my decision to use dishwater grey thread. Some of the heddles are a bit warped or sticky (sticky as in the metal is rough, so there’s friction, not like covered-in-honey sticky), and I’ve also botched the 1-2-3-4 pattern in places. Counting to four is harder than you might expect.
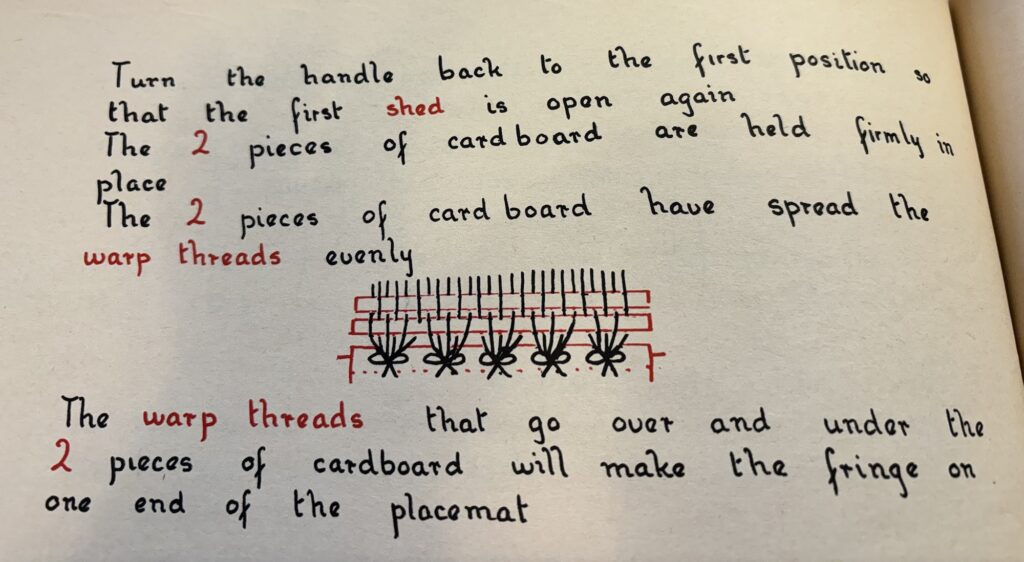
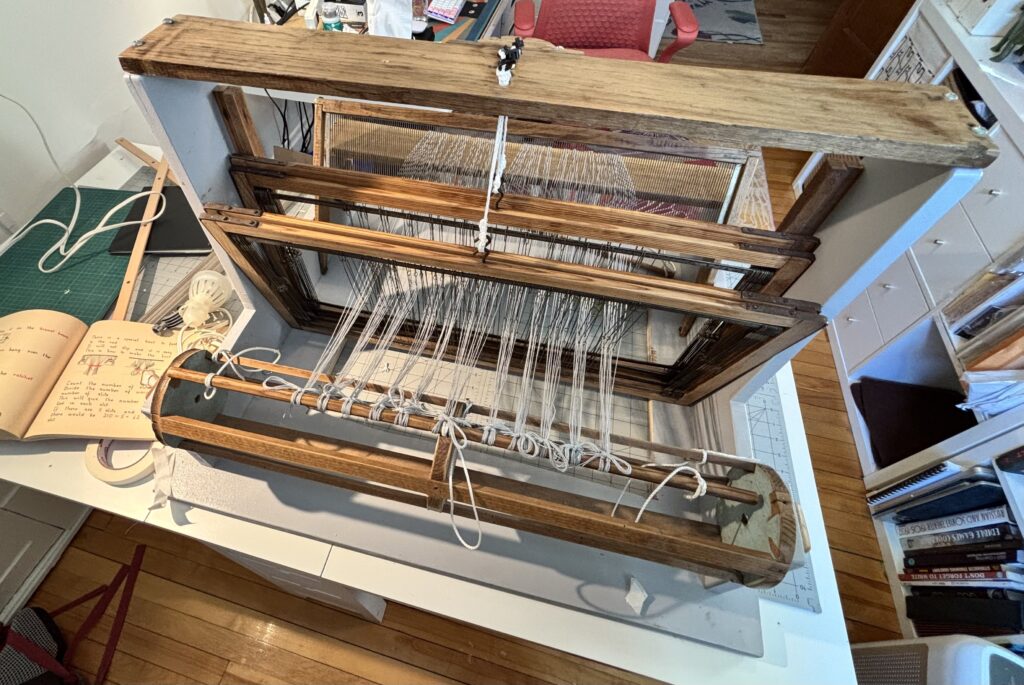
A few days later, once my frustration and fury subside, I take it all apart and put it back together again, in the right order, with nothing missing. It’s pleasingly orderly. You Can Weave kindly asks me to insert 1″ cardboard strips at the head of my warp. This will preserve some thread to use as tassels.

I test the tension of my threads by pressing gently on it with a finger crossing several threads at once. It all needs to have equal tension, or the result will be messy. I retie my knots to improve tension as necessary. Then I notice that one side of the warp threads are harder to keep tensioned than the other, which I assume means my Frankenloom is not level (are you surprised? I am shocked. LOLOLOL.) I give up trying to compensate for it with knots, and just jam a pile of cardboard strips between the warp and the backbeam. That seems to take care of it.
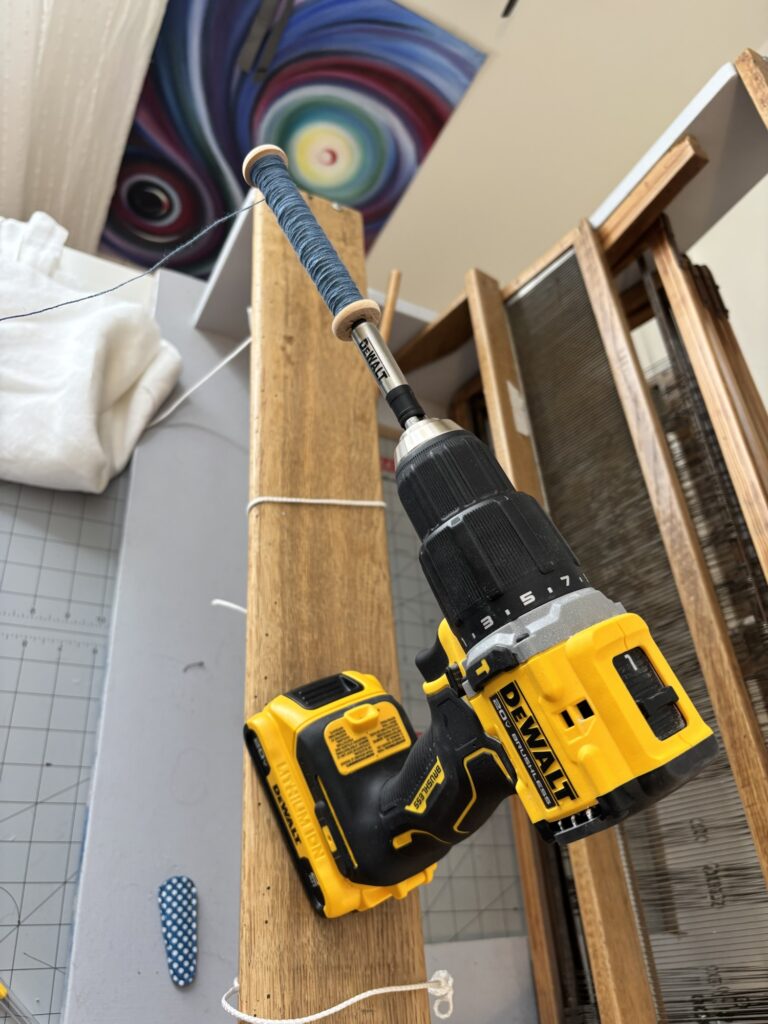

We’re not done yet! We still need to get thread onto a bobbin, to put into the shuttle, so we can weave our weft thread back and forth. I notice that you can spend a lot of money on a bobbin winder if you want to. It should come as a surprise to no one, that I don’t. I’m also not interested in winding anything by hand, ever. Luckily, I try popping the bobbin on the end of a drill bit and it fits perfectly. DeWalt to the rescue.
And that’s it! We’re ready to go!
About a week and a half has passed from the time I make my warp, to when the loom is dressed and ready to begin weaving. But Frankie Loom and I are sticking with this. We’re going to get it done.
Just not right now, ’cause I’m exhausted.